Introduction
Hello and welcome to my blog! In this article, I'll describe the steps I took to create this blog, share my sources of inspiration, and hopefully get some feedback from you.
This space will be dedicated to posts about my current (and past) projects, how-tos, and reviews or benchmarks of different technologies I've used along the way.
Choosing the tools
There are many blogging frameworks out there. A quick Google search will tell you that it takes about 5 minutes to write your first blog post on WordPress. So why did I spend 5 months creating a website before writing this first post?
The answer: I wanted to build something from the ground up and really understand how it works behind the scenes. I wanted a challenge - and to learn something from the process.
Most Content Management Systems (CMSs) like WordPress are full-featured web applications. They use databases to store content and run server-side code to generate each page dynamically when a user visits. This works great for many use cases, but it's often overkill for a simple blog.
Instead, I wanted a static site - a website made up of plain HTML files that don't rely on a server to generate pages dynamically. They're fast, secure, and easy to host because there's no backend logic or database involved.
To generate those HTML pages from Markdown and templates, you use a static site generator (SSG). A static site generator takes content (usually written in Markdown), combines it with templates and metadata, and outputs a complete set of static HTML files ready to be served by any web server. Jekyll is one of the most well-known tools in this space, especially popular with GitHub Pages.
I considered Jekyll (written in Ruby), but since I prefer working in OCaml, I searched for an alternative in that ecosystem-and found YoCaml.
Introducing YoCaml
YoCaml is described as a framework for building static site generators. But what does that mean ?
Unlike Jekyll, which is a static site generator, YoCaml provides the building blocks to create one. It gives you primitives for templating, defining document types, and processing content - but you write the logic yourself. That means full control over how your static site is generated.
There's not a ton of beginner-friendly documentation, but thankfully, some users have open-sourced their blog setups. I found the source code for a few, like maiste and gr-im, which helped me understand how others use YoCaml and structure their OCaml projects.
The creator of YoCaml has a great post about the design choices behind it, and I'll share a follow-up post soon with more details on how I used YoCaml - and even added some unusual functionality.
Building the UI
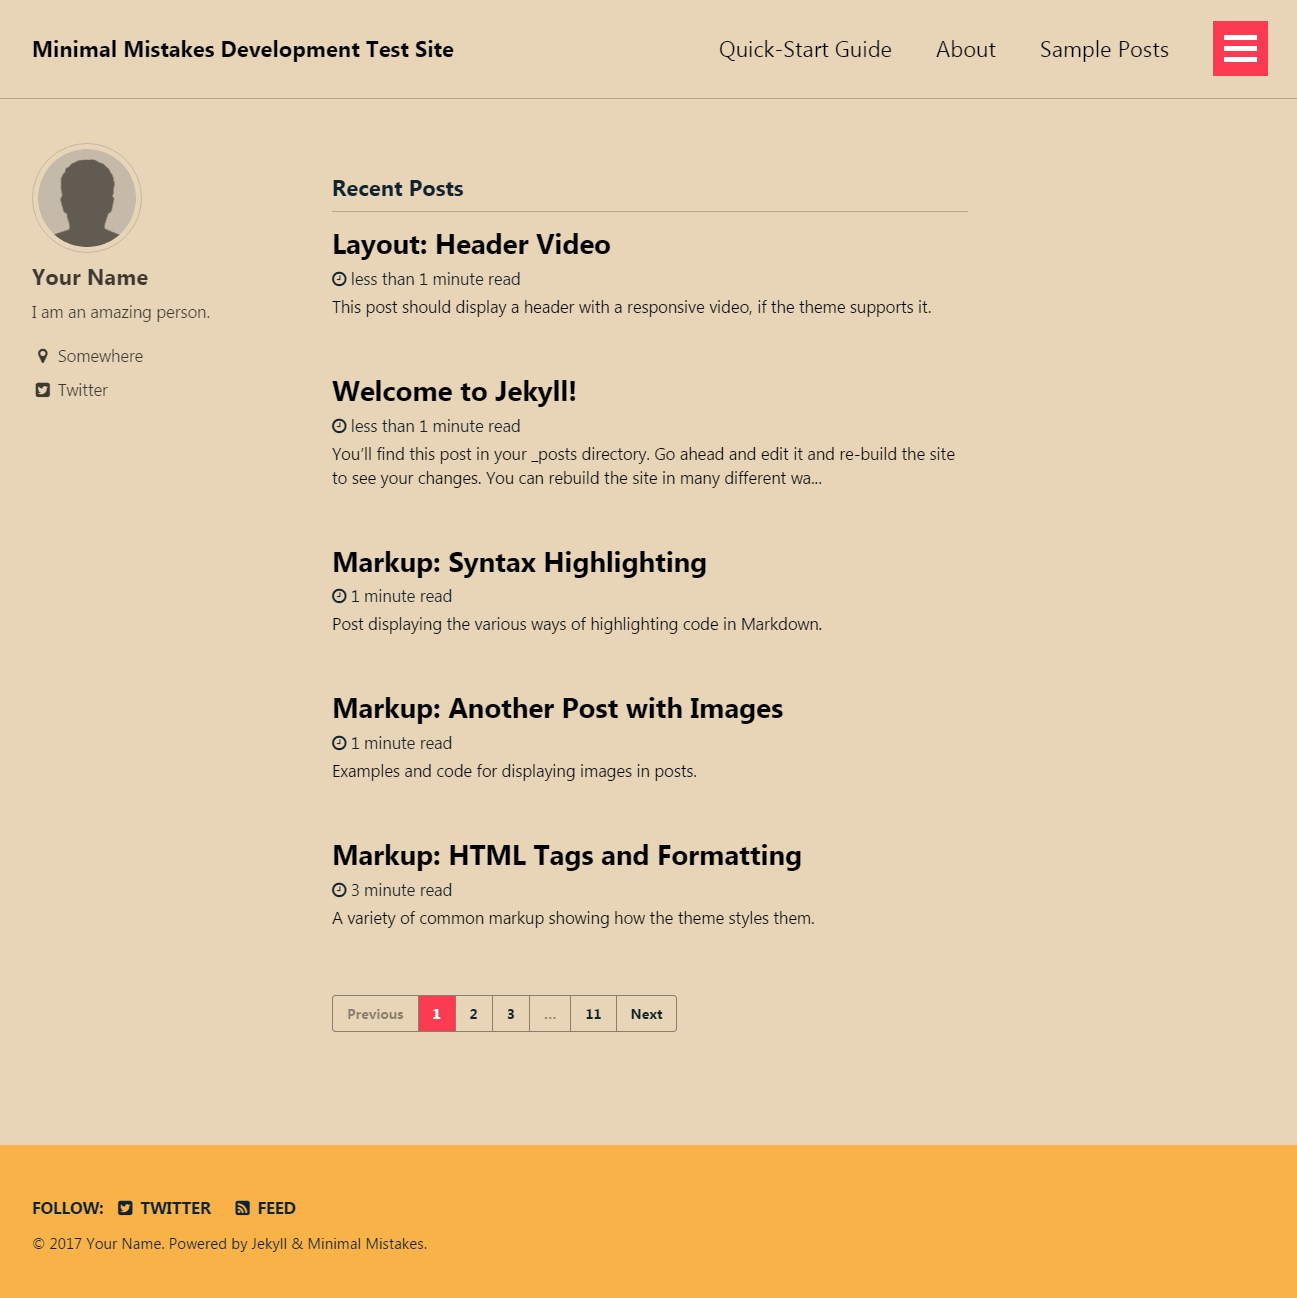
I'm no UI/UX expert, so instead of designing wireframes from scratch, I drew inspiration from other tech blogs.
One theme that stood out to me was Minimal Mistakes for Jekyll.
For the implementation, I used Bulma, a CSS framework I'm already familiar with from work. It helped me build a clean and responsive layout by using its readily-available classes to style the page sections. This made it easy to focus on content and structure without getting too deep into custom styling.
Supporting interactivity
In addition to static content, this website also supports some interactive features: the timeline on the "About" page, a network graph of the content on the front page, and comments on all articles. I thought it might be useful to describe how these were implemented.
Choosing a comment platform
One of the reasons I'm starting this blog is to receive feedback on my work and improve. Naturally, I wanted readers to be able to leave comments on my posts. So, I researched a few commenting tools based on the following criteria:
-
Is it open source?
-
Can I self-host it?
-
Is there a live demo?
-
And finally, my own subjective opinion.
I was particularly interested in self-hosted options to avoid third-party tracking, retain control over the data, and ensure long-term availability regardless of external service decisions.
Here's a summary of what I found:
| Comment tool | Open Source | Self-Hosting | Demo | Opinion |
|---|---|---|---|---|
| Disqus | No | No | Demo | Clunky interface; 3rd-party service with ads |
| giscus | Yes, active | Possible (unclear account handling) | GitHub-style demo | Very clean, but requires GitHub account to post |
| Isso | Yes | Yes | Simple demo | Lightweight but lacks moderation/spam filtering |
| Commento | Yes, stale | Yes | Demo | Looks great, but unmaintained (last commit 4 years ago) |
| Comentario | Yes, active | Yes (recommended) | Excellent demo with admin view | Fork of Commento; great UX and ongoing development |
The winner was Comentario. It's a fork of the now-unmaintained Commento project, with active development, solid documentation, and a polished interface. It was also straightforward to set up on my Ubuntu server (though it does require PostgreSQL). So far, I'm happy with it - and I hope you'll make good use of the comment section!
The timeline: a time-sink ?
I've always found it hard to keep my CV up to date. Putting experiences into perspective, especially over several years, is tricky. Writing about oneself is even harder.
So instead of building a traditional CV, I wanted to create something more engaging - a visual timeline that summarizes my journey at a glance.
However, I couldn't find an existing timeline component that met my needs - particularly one that handled overlapping periods in a clean, readable way. So, despite not being a front-end expert, I decided to build one from scratch.
The result is a custom timeline widget built using Bulma, arranged in a CSS grid layout. It features interactive elements: when you hover over the years or periods, additional details appear without cluttering the view. This lets the reader explore more information on demand, while keeping the layout minimal and clean.
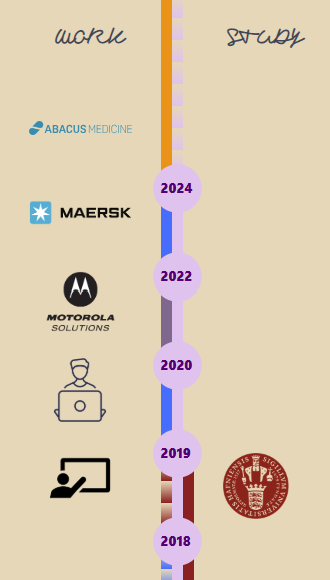
To be honest, this was by far the most time-consuming part of the blog - over multiple iterations, I think I spent around two months refining it until I was happy with both the design and interactivity.
It's implemented entirely with HTML, CSS, and vanilla JavaScript. All the periods are currently hardcoded. You can check it out on the About page.
Was it worth the effort? I'd love to hear your thoughts.
How can my front page stand out ?
I wasn't sure what to put on the front page at first. It's the first thing a visitor sees - so how could I make it unique and memorable?
Since I've always liked graphs as a way to represent data, I thought: why not include one? My blog is built around articles, and many of those have tags. That naturally led to the idea of creating a knowledge graph - a visual representation of how different posts and categories relate to each other.
That's exactly what I built, using a force-directed graph implemented with D3.js, a powerful JavaScript library for data visualization. I followed this awesome tutorial to get started, and customized it to fit the structure of my blog.
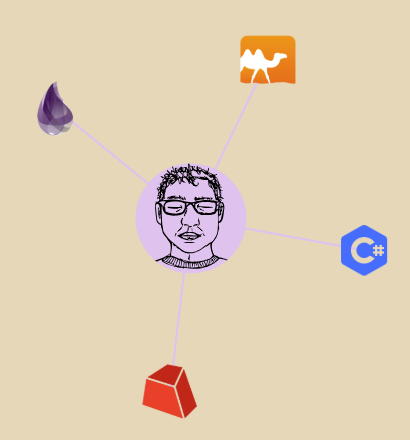
As I continue to write and assign new tags to posts, I plan to expand the graph, making it a living, evolving map of the blog's content.
Special mentions
I'd like to thank Zoe for drawing the picture I use as the logo, Carina and Sam for their feedback on the timeline, and everyone else who took the time to look at the project while I was working on it. Your support really meant a lot, and your advice helped me shape a site I'm proud to share.
Their feedback was invaluable - and you can be part of it too by leaving a comment below!